
How to Conduct a Technical SEO Site Audit
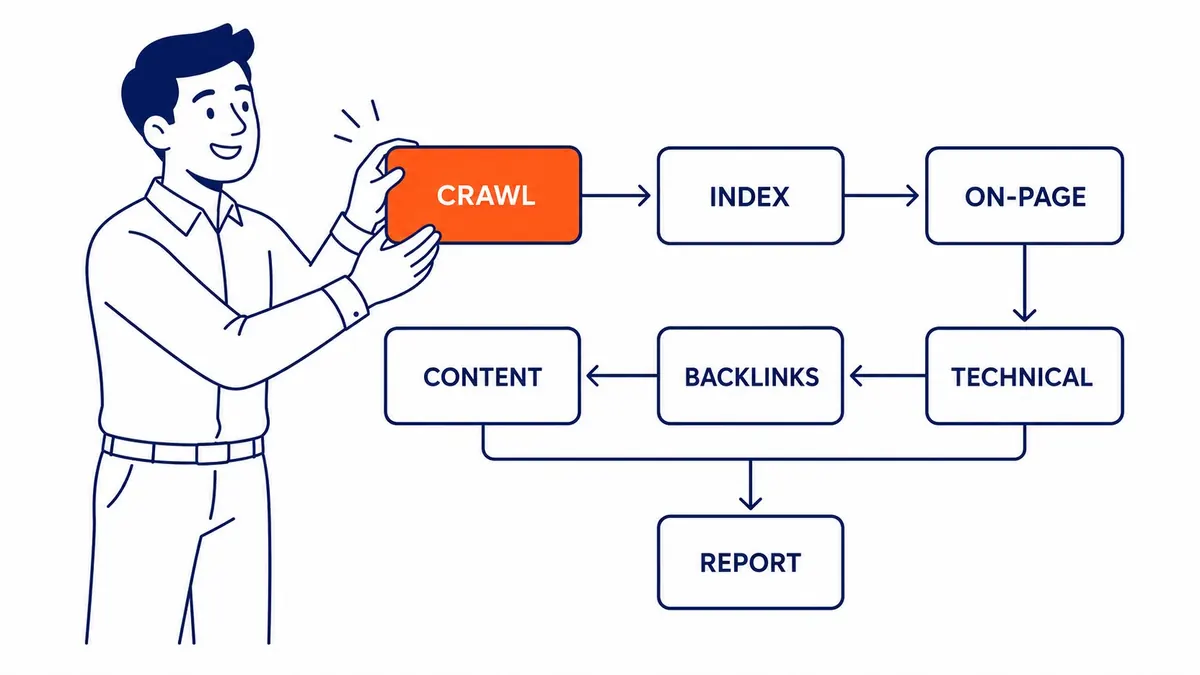
To conduct a technical SEO site audit, work through seven steps in order: crawl the site the way a search engine would, compare that crawl with what Google has actually indexed in Search Console, check robots.txt, noindex tags and canonicals, test how Google renders your key pages on mobile, read your Core Web Vitals from real-user data, review internal links and site structure, and then check titles, headings, HTTPS, hreflang and structured data. The order matters because each step depends on the one before it. A page that Google cannot crawl or index gains nothing from a faster load time, so the checks that decide whether pages can be found always come first.

This guide uses the tools available in 2026, Search Console first, which matters more than it sounds. Several popular audit guides still send readers to reports that no longer exist, and a checklist built on retired tools sends the audit in the wrong direction before it finds anything.
What a technical audit covers, and what to have ready
A technical audit asks one question: can search engines reach, render, understand and index the pages you care about, and do those pages work well for the people who land on them? It deliberately leaves out keyword targeting, content quality and backlinks, which belong to a full SEO audit. If you want the background first, this overview of what technical SEO covers explains the moving parts before you start testing them.
Before you begin, gather four things. You need a verified Google Search Console property for the domain, ideally a domain property so that every version (http, https, www and non-www) reports in one place. You need a crawler: Screaming Frog’s SEO Spider crawls up to 500 URLs free, which covers most small business sites, and its paid licence was £199 a year when this guide was checked in November 2026. You need PageSpeed Insights and the Chrome browser’s built-in DevTools, both free. Finally, write down the ten to twenty pages that bring in enquiries or sales, because every finding will be judged by whether it touches those pages.
Step 1: Crawl the site the way a search engine would
Start the crawler on your home page and let it follow every internal link. The export gives you each URL’s status code, redirect target, title, meta description, headings, canonical tag and indexability, which is the raw material for most of the later steps. Sort by status code first, since broken pages and server errors are the quickest wins and the easiest to verify.
Look for internal links pointing at 404 pages, any 5xx server errors, and redirects. Google documents that its crawlers follow up to 10 redirect hops, so a two- or three-hop chain will not stop indexing on its own. It is still worth collapsing every chain into a single redirect and updating internal links to point straight at the final URL, because each hop is another request, another place for a future change to break the path, and a slower experience for visitors.
A crawl that starts at the home page can only find pages that something links to, so it will miss orphan pages entirely. To find them, give the crawler your XML sitemap as a second source and compare the two lists. Any URL that appears in the sitemap but not in the link crawl is a likely orphan, so confirm that no internal link points to it, then either link to it from a relevant page or decide to retire it.
Step 2: Compare the crawl with Google’s Page indexing report
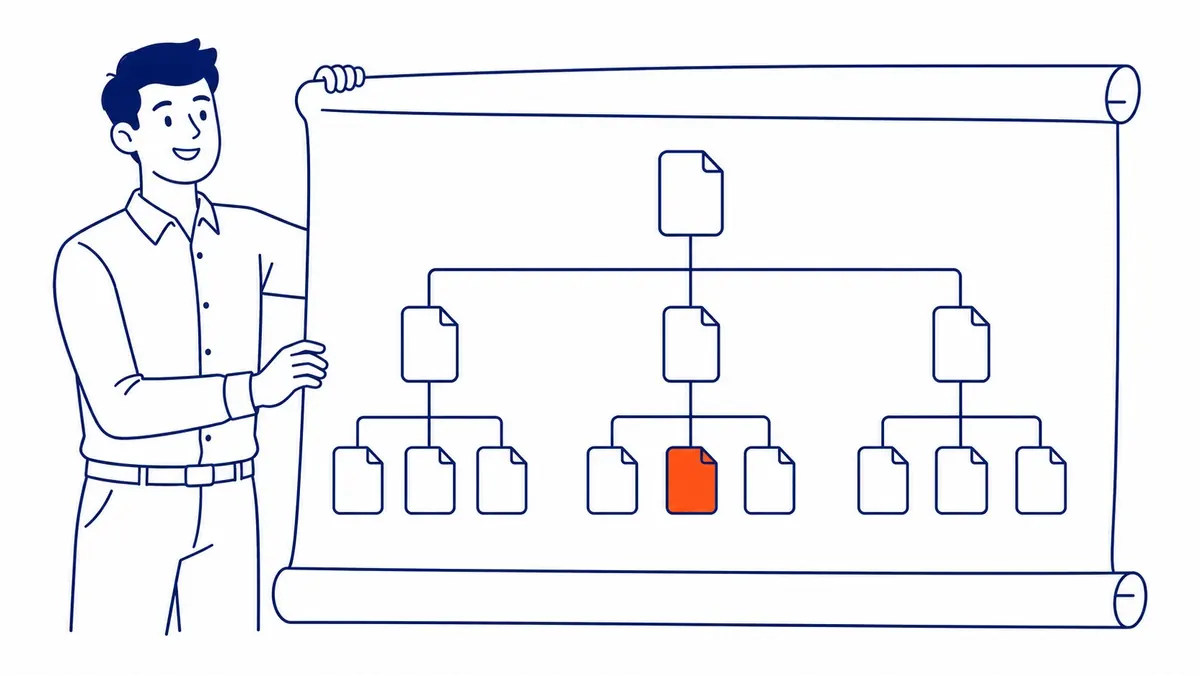
The crawl shows what exists. The Page indexing report in Search Console (once called the Coverage report) shows what Google has done with it, and the gap between the two is where most technical problems surface. Open the report, look at the reasons listed under “Why pages aren’t indexed”, and check each reason against your list of important pages.
Not every reason is a problem. “Alternate page with proper canonical tag” usually means Google is handling duplicates the way you asked, and “URL marked ‘noindex'” is fine for thank-you pages and internal search results. The statuses that deserve attention are a noindex on a page you want ranked, “Soft 404” on a real service page (often a sign the page looks empty or thin to Google), “Duplicate without user-selected canonical” across many URLs, and large numbers of “Crawled – currently not indexed” or “Discovered – currently not indexed”. Google’s help page notes that it doesn’t index every page it finds, so a handful of low-value URLs in those last two groups is normal, while a key service page sitting there for weeks is not.
For any important URL that looks wrong, open the URL Inspection tool. It shows whether the page is indexed, when Google last crawled it, which canonical you declared and which canonical Google selected. Check the sitemap at the same time: it should list only URLs that return 200, are indexable and are their own canonical, so a sitemap full of redirects or noindexed pages is sending Google mixed instructions.
Step 3: Check robots.txt, noindex and canonicals
Open yourdomain.ca/robots.txt in a browser and read every Disallow line. Robots.txt controls crawling, not indexing, and Google is direct about the difference: robots.txt “is not a mechanism for keeping a web page out of Google.” A blocked URL can still appear in results without a description, and a noindex tag on a page that robots.txt blocks will never be seen, because Google cannot crawl the page to read it. If a page must stay out of the index, let Google crawl it and use noindex, or put it behind a password.
On WordPress, check Settings, then Reading, and make sure “Discourage search engines from indexing this site” is unticked. Since WordPress 5.3, that box adds a noindex, nofollow robots meta tag to the site’s pages, and it is easy to leave on after a developer launches a site from staging. While you are there, search Google for your brand name and look for a staging or development copy of the site in the results, because an indexed copy competes with the real one for the same content.
Then check canonicals. Google’s documentation describes redirects as the strongest signal for which URL should be canonical and rel=”canonical” as a strong one, with sitemaps weaker, so these signals need to agree. In the crawl export, flag any page whose canonical points somewhere other than itself, then confirm each one is intentional. A common failure is a template that points every page in a section at the section’s first page, which quietly asks Google to drop the rest.
Step 4: Test how Google renders your pages on mobile
Google states that it uses “the mobile version of a site’s content, crawled with the smartphone agent, for indexing and ranking.” That makes the mobile render the version that counts, and any content, links or structured data missing from the mobile page are missing for Google too. Content hidden behind a desktop-only menu, or loaded only after a tap, is a typical gap.
Google removed the Mobile Usability report and the Mobile-Friendly Test from Search Console and its documentation at the end of 2023, so the old “run the Mobile-Friendly Test” step no longer applies. Use the URL Inspection tool’s live test instead: run “Test live URL”, then “View tested page” to see the rendered HTML and a screenshot of what Googlebot received. If the screenshot is missing text, images or navigation that a visitor sees, the problem is usually JavaScript that fails to run or resources the crawler cannot load. For layout problems such as tap targets that sit too close together, run Lighthouse in Chrome DevTools with mobile emulation, whose accessibility checks include touch target size and whose other audits cover much of what the old report flagged.
Step 5: Read Core Web Vitals from real-user data
Core Web Vitals measure loading (Largest Contentful Paint), responsiveness (Interaction to Next Paint, which replaced First Input Delay in 2024) and visual stability (Cumulative Layout Shift). Google’s targets for a good experience are LCP within 2.5 seconds, INP under 200 milliseconds and CLS under 0.1. These are user-experience thresholds, not ranking cut-offs, so a page at 2.7 seconds does not fall off a cliff in the results.
Start with the Core Web Vitals report in Search Console, which groups URLs as Good, Need improvement or Poor using field data from real Chrome users. Smaller sites often see “No data available”, which Google explains as not enough data in the Chrome UX Report for that device type. In that case, run your key pages through PageSpeed Insights and treat its lab results as a guide to what to fix rather than a measure of what users experience. Common causes worth checking are oversized hero images and slow server response for LCP, heavy plugin or tracking scripts that tie up the browser for INP, and images or embeds without set dimensions for layout shift.
Keep this step in proportion. Google says that “Core Web Vitals are used by our ranking systems”, and it also says that good results in its reports don’t guarantee top rankings. For most sites, a slow page is a conversion problem first and a ranking problem second, and this explainer on how much Core Web Vitals affect rankings covers that trade-off in more depth.

Step 6: Review site structure and internal links
Internal links are how both visitors and crawlers find your important pages, and they tell Google which pages you consider central. Using the crawl, check how many clicks each important page sits from the home page. A common practitioner rule of thumb is to keep money pages within three clicks, which is not a Google rule but a sensible check, since a service page buried five levels deep is usually under-linked as well.
Next, look at the internal links pointing to each key page and the anchor text they use. Links that read “click here” or “learn more” tell a crawler very little about the target, while a plain description of the topic does. Check that the main navigation and footer link to every core service, that the orphan pages from Step 1 now have a home, and that no internal links point to redirected URLs. Search Console’s Links report lists your most-linked internal pages, which is a quick way to see whether the pages you care about are the ones your own site points to most.
Step 7: Check titles, headings, HTTPS, hreflang and structured data
The crawl export lists missing, duplicate and overlong titles and meta descriptions. Duplicate titles across several pages usually point to a deeper problem, such as near-identical pages competing for the same query, so treat them as a clue rather than a cosmetic fix. One clear H1 per page that matches its topic is a sensible convention, and the crawler’s headings tab shows any page where a theme has turned logos or decorative text into headings.
Confirm that every http URL redirects to its https version in a single hop and that no page loads images or scripts over http, which browsers flag as mixed content. If your site has English and French versions, as many Canadian sites do, check the hreflang tags: each version should list itself and its alternate (for example en-CA and fr-CA), and Google states that if two pages don’t both point to each other, the tags will be ignored.
Finally, test structured data with Google’s Rich Results Test and fix errors on the markup you use. Keep expectations current, though. Google stopped showing FAQ rich results on 7 May 2026, so FAQ markup no longer earns an enhanced listing, and structured data is about eligibility for rich results rather than a ranking boost.

How to prioritize what the audit finds
Most crawlers give the site a health score and a list of hundreds of warnings. Ignore the score and sort every finding by what it does to the pages that bring in business, because a warning on a page nobody needs is not worth the same effort as a noindex on your main service page. The tiers below are a practical order for fixing.
| Tier | What it does | Typical findings | When to fix |
|---|---|---|---|
| 1. Blocks crawling or indexing | Stops Google crawling or indexing important pages | Noindex or “Discourage search engines” left on, robots.txt blocking a key section, 5xx errors | Immediately |
| 2. Wrong page or wasted signals | Google indexes the wrong URL, or links and crawls are wasted | Canonical errors, soft 404s on real pages, an indexed staging copy, redirect chains, internal links to 404s, orphan service pages | Within the next few weeks |
| 3. Experience | Pages work poorly for visitors on phones | Poor LCP or INP on key pages, layout shift, content missing from the mobile render | Plan and schedule |
| 4. Hygiene | Minor or cosmetic | Long titles, missing alt text on decorative images, a stray redirect in the footer | Batch into routine maintenance |
Crawl budget is one item most small sites can skip. Google’s own guide says it is written for large sites with more than a million unique pages whose content changes about once a week, or for sites with more than 10,000 pages whose content changes daily, and that if your pages are crawled the same day they are published, you don’t need to read it. A 40-page Calgary service site will not run short of crawl budget, so effort spent there is better spent on tiers 1 and 2. If the server itself is the concern, the Crawl Stats report under Search Console’s settings shows response times and any host availability problems Google ran into. For a deeper look at sequencing, this guide to putting technical fixes in order works through the trade-offs between effort and impact.
When to run it again, and when to get help
Rerun the technical checks after any migration, redesign, change of theme or CMS, switch to a new host, or move from http to https, since those are the moments when redirects, canonicals and noindex settings change without anyone noticing. A separate guide covers how often a site should be audited on a regular schedule. If the same pages receive paid traffic through Google Ads, the audit pays twice, because landing page experience is one of the ad quality factors Google Ads weighs at auction time. Most fixes show up in Search Console only after Google recrawls and reprocesses the affected pages, and that timing varies from page to page.
Most of this audit is within reach of a site owner with Search Console access and a free crawler. Where it gets harder is interpretation: deciding whether a canonical is intentional, tracing a rendering gap to a specific script, or judging which of fifty warnings is worth a developer’s time. If you would like to compare quotes first, this explainer on what an audit typically costs sets out what affects the price. SEO Company To-The-TOP! is a Calgary SEO practice where one specialist handles every website audit from start to finish, and if you would like a second opinion on your site, or on an audit quote you already have, call (403) 308-5949.
Contact Calgary SEO Company To-The-TOP!
Questions about anything in this article, or about your own rankings? Talk to a Calgary SEO specialist directly.
Phone: (403) 308-5949
Address: 1509 14 Ave SW, Calgary, AB T3C 0W4
Hours:
Monday to Friday: 10:00 am – 7:00 pm
Saturday: 12:00 pm – 4:00 pm
Sunday: closed